
Posted on July 26, 2015
5-Gallon Bucket Pond Filter
Every once in a while I actually DO one of those little projects on Pinterest. Of all the things I put together, the main reason I thought I’d post this one is that the other million tutorials out there didn’t quite hit the mark for me, so I pulled things I liked from a variety of other posts and made a few more up and here we are.
So I have this pond. The water is green.  For a year or so it filtered well enough with the usual staples — some barley, checking the pH and other levels, and a basic pump, small three-step filter (bio balls and coarse and fine filters in a little filter box), but it was never really clear, just clear enough.  The best it got was immediately after deep cleanings, but they didn’t last more than a month.  For reference, I have a small pond, about 100 gallons, with three 6-10″ long Koi; it tends to be big rains or the direct sun that seems to spawn the evil algae blooms.
Anyway, the design I went for was pretty simple. Â First off, here’s the shopping list:
- 5 Gallon Bucket with lid ($5 at a hardware store)
- A 10 pound or 0.5 cubic foot bag of lava rock ($4)
- Some fine filtration media ($9 for plenty)
- Enough garden hose to reach across the pond and into the bucket (under $10)
- A cheap hose adapter ($3Â for each female and male, or skip if you have an intact hose)
- Male and female 1″ PVC adapters (less than $1 a piece)
- Some cheap, sturdy, plastic box that fits at the bottom of the bucket.  I used a large glad-ware container ($3)
Most of these you probably have lying around. Â The total cost here is $36, and it’s probably more like $25 if you scrounge some things you have lying around.
Tool wise, all I used was a drill and a pocket knife.
There are a few reasons that these particular selections work. Â The pond pump I have fits a garden hose if you just cut one of the connectors off and slide the hose into the pump’s output tube. Â I find this much simpler than PVC, but if your diameters don’t work you’re going to have to redo a couple of parts.
Step 1 is to cut a hole in the small plastic box (the GladWare) in the bottom center (which will become the top) around which the garden hose will couple. Â It helps, then, to pick an adapter that flares so that when you screw the hose to the adapter it grips the plastic. Â This picture should help:
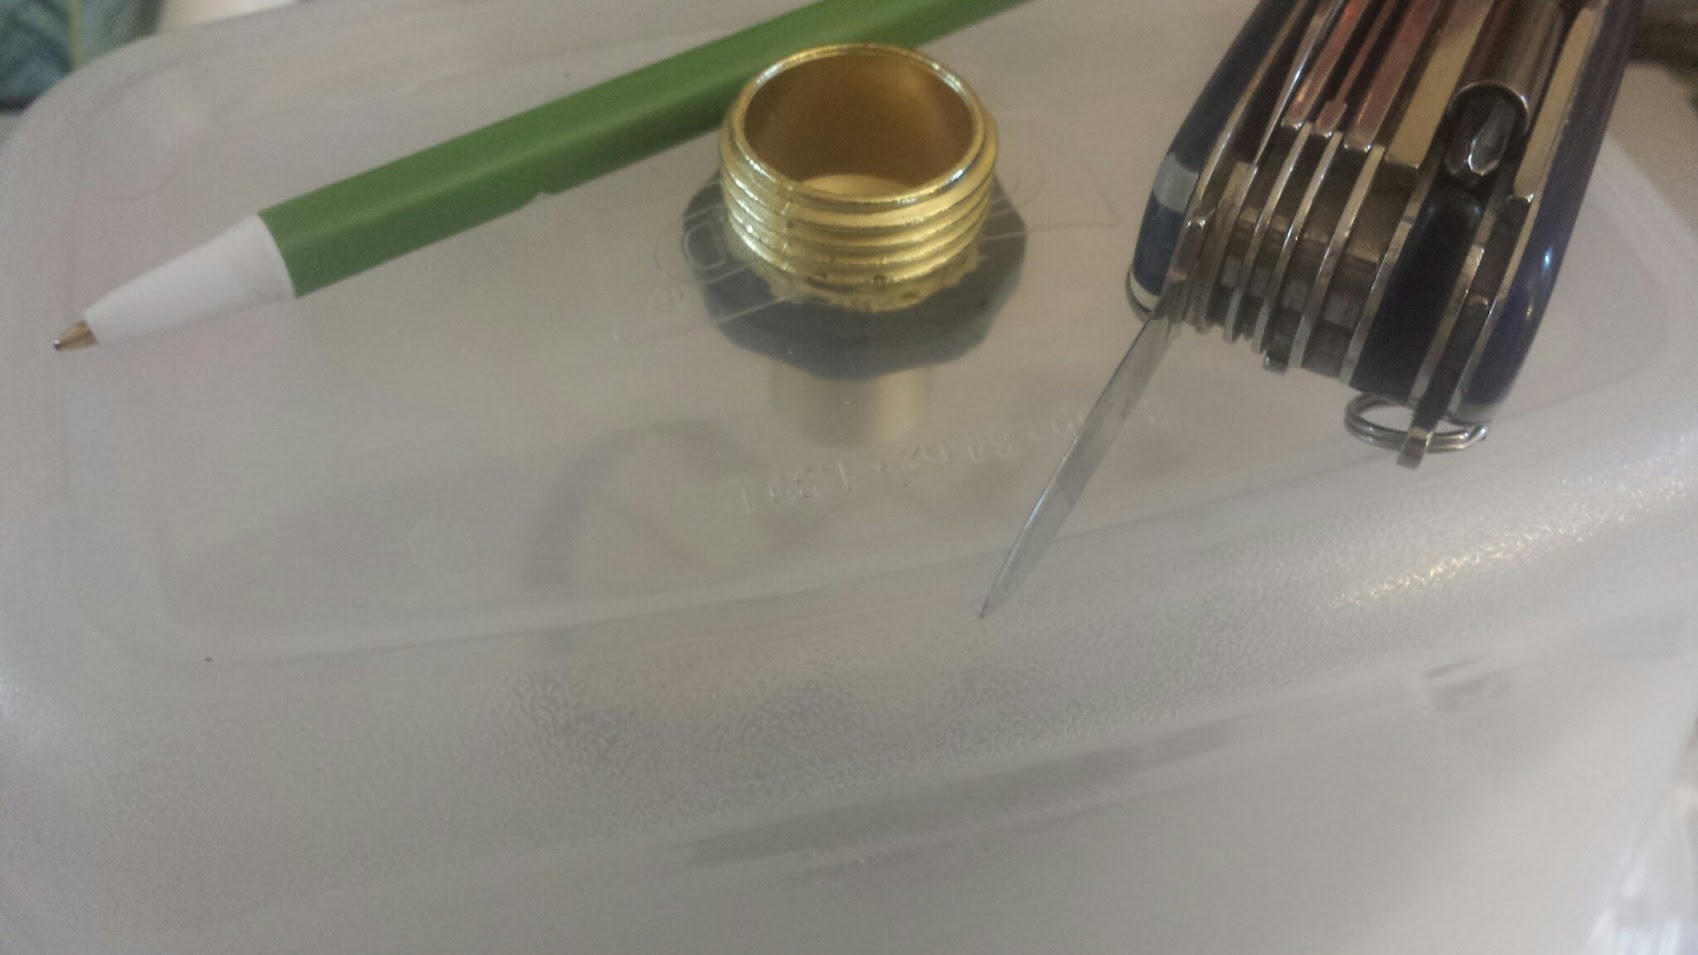
The knife used to cut the hole in the Glad Ware through which the male hose adapter is pushed.
On the hose, I had cut the male end off a year ago (and lost it) to fit an end into the pump, which is why the adapter I linked to is male; save yourself $3 by saving the end you chop off.
After that you want to drill some holes in this plastic box. Â The idea is to get enough water flow in all directions without hurting the structure of the box, since it will need to support some lava rocks later. Â Here’s another pic:
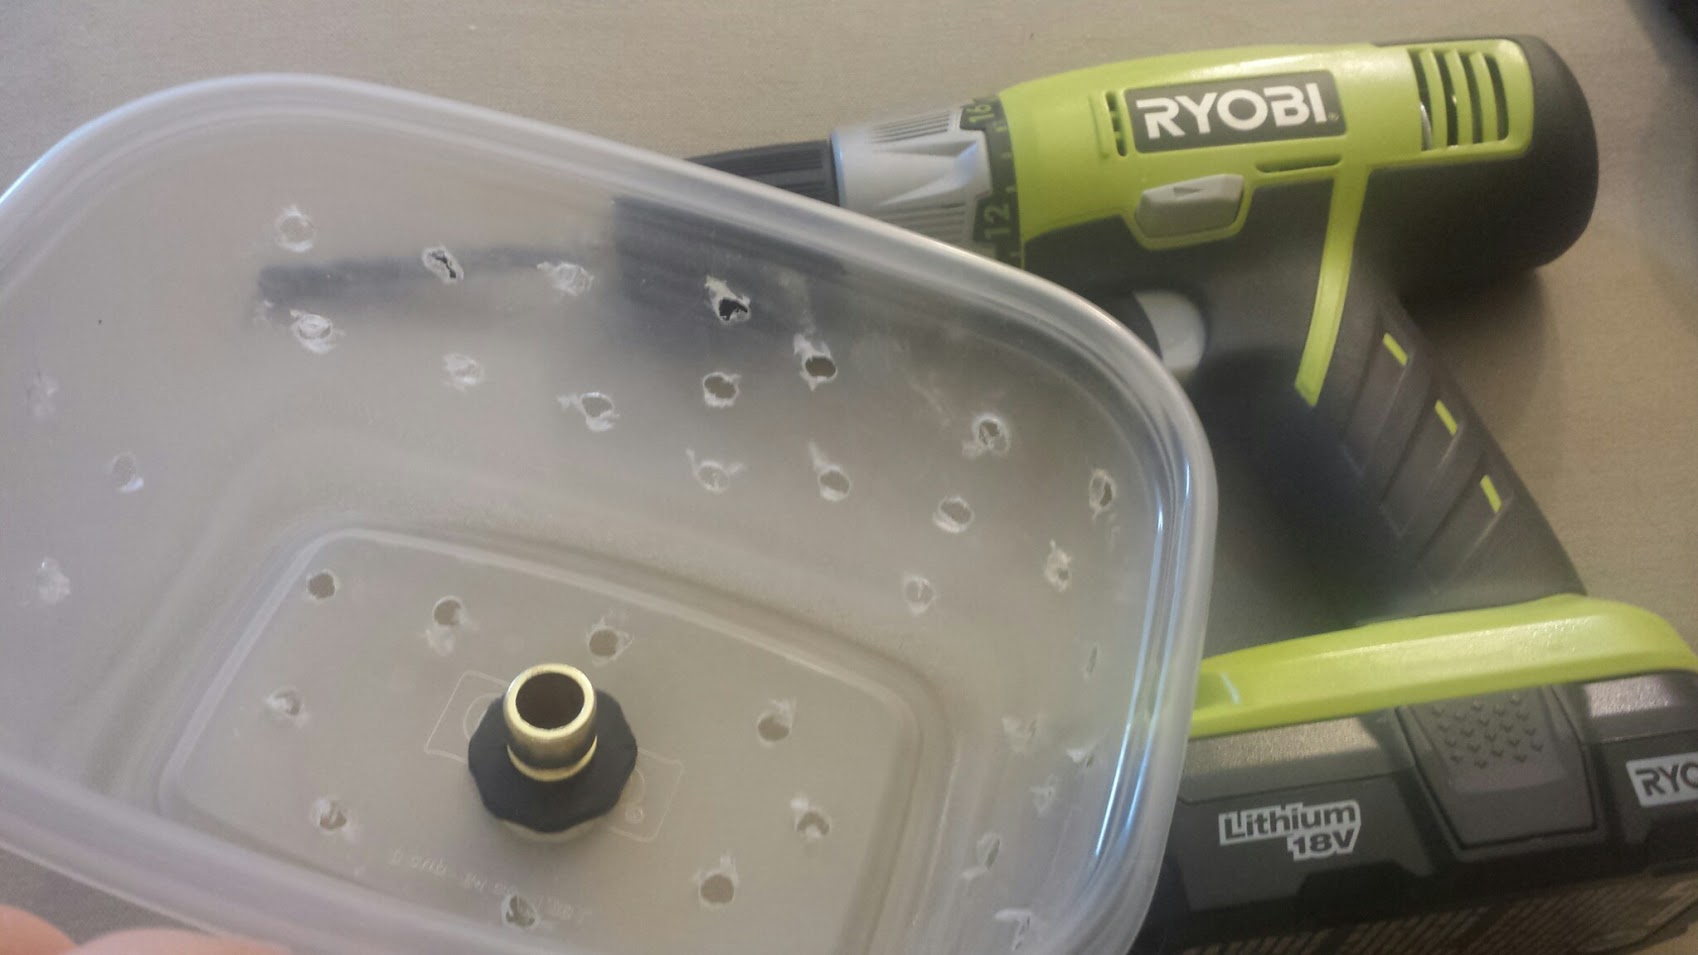
Holes drilled into the bowl with a 1/4″ drill bit, and the reverse view of the hose adapter.
Now, more elaborate setups build a grille and support structure at the bottom of the bucket, and some include a valved output port at the bottom of the bucket for emptying gunk much like in a water heater. Â Some designs put PVC elbows in to direct water flow in certain ways. Â All of these may be minor improvements, but they each add incrementally more difficult builds and complications, and without, I think, being worthwhile.
Next, we cut the same sort of hole near the top of the bucket facing to the side to fit the two PVC adapters. Â These will be threaded through the bucket just like the hose adapter is threaded through the plastic box. Â While we’re cutting things, cut a hole in the lid of the bucket to pull the hose through. Â Voila:
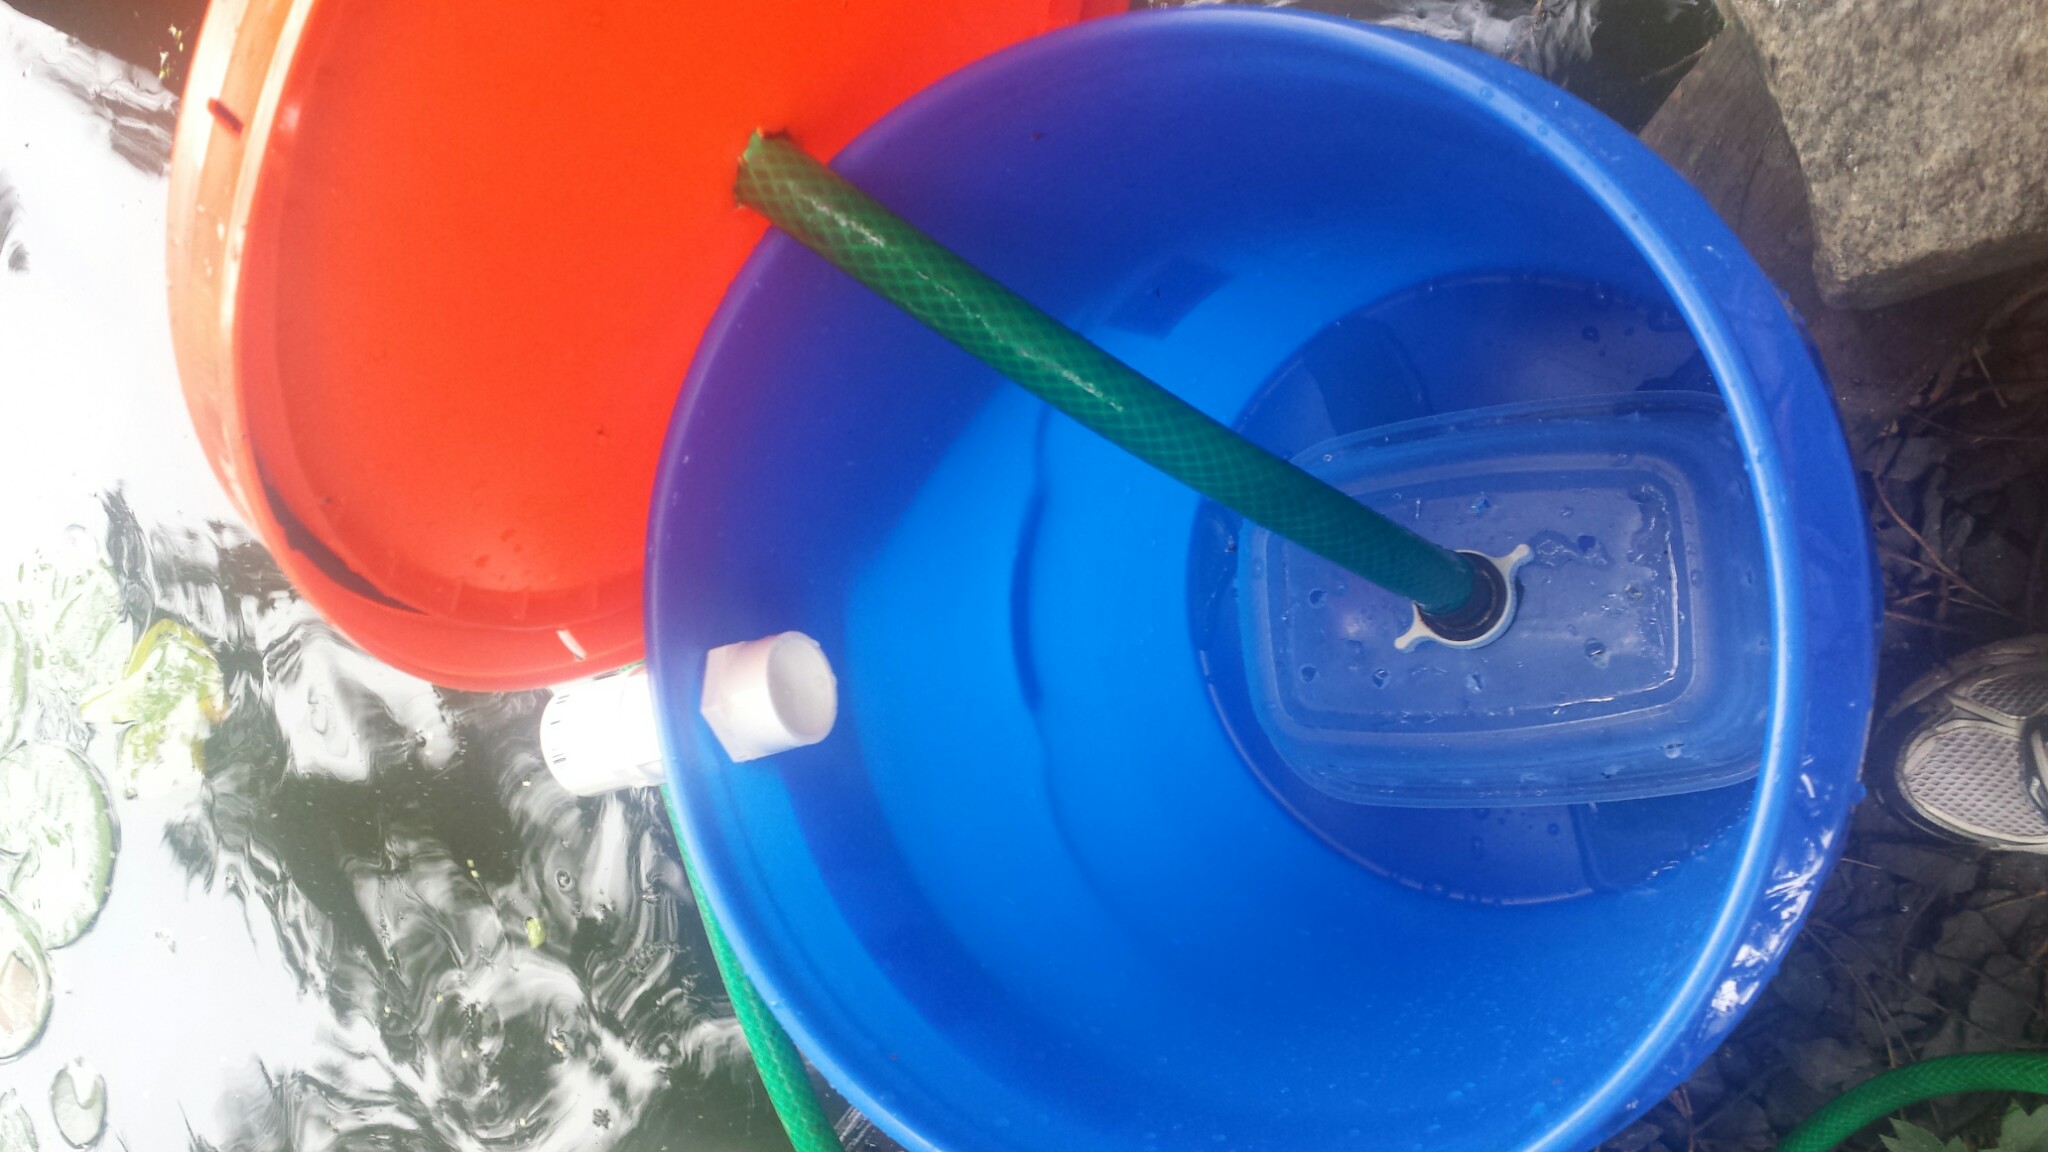
The hose, inside box, PVC output spout, and lid without the filter material.
With the inner box laying firmly on the bottom of the bucket, fill the bucket within a couple of inches of the PVC pipe with the lava rock.  Put them in gently at first to make sure you don’t crush the little box at the bottom.
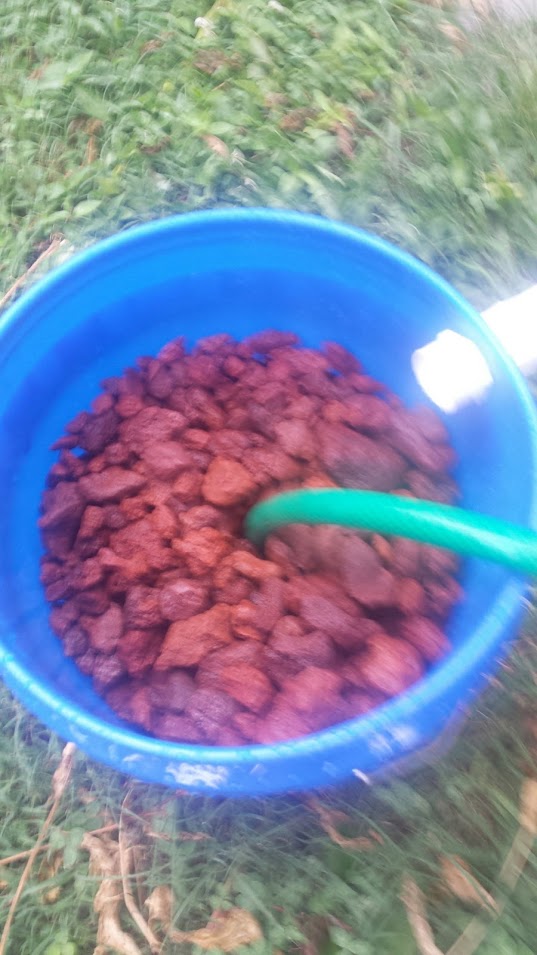
A blurry view of the lava rock filled bucket.
At this point you may want to stick a clear water hose into the bucket and run it for a few minutes to clean off the lava rocks, which tend to come with a lot of red dust on them.
Next you want to stuff the rest of the bucket with the finer filter material.  I cut a few squares larger than the bucket, and cut a hole in the middle of each (A simple way to find the center is to fold the square in half twice, and cut at the inside corner).  Run the end of the hose through these so that they fill the bucket.  If you use multiple sizes of filters (coarse, medium, fine), the coarser ones should go towards the lava rocks.  You’ll have to ou have to take the lid off if you already threaded the hose through it, like I did.  Oops.
Here’s a picture; I’m using a terrible filter medium here because the stuff I ordered hasn’t arrived yet.  You want to stuff  this fairly full, just not so full that any of the media gets squished.  This photo needs another inch or two of material:

Almost filled with fine filter material, a bit more needed.
And that’s it. Â Put the top on firmly and attach the other end of the hose to the pump. Â Should be good to go! Â This is a picture of a test pump… I’m planning on partially submerging this and hiding it in some rocks, but it’s functionally complete. Â Let me know if this works for you!
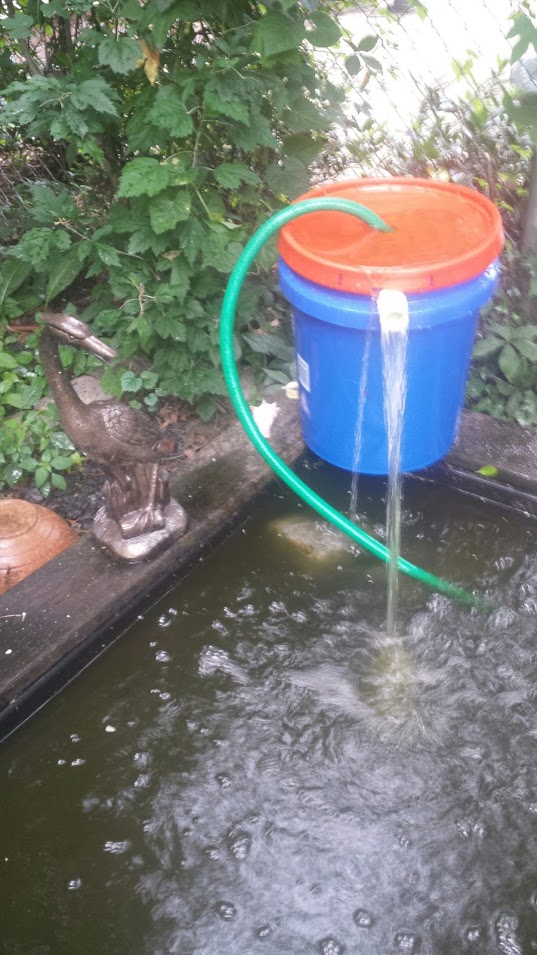
Working if ugly pond filter! Woot!
I’ll upgrade the filter when I get the amazon order in with the smaller micron filter material, but in the mean time here’s the instant before and after water (the pre-filter water is on the right). Â The filter definitely removes big detritus, but I’ll need the finer mesh to get here, and a few weeks of bio goop growing on the lava rocks to (hopefully) get much cleaner. Â I’ll try to follow up, but so far so good!
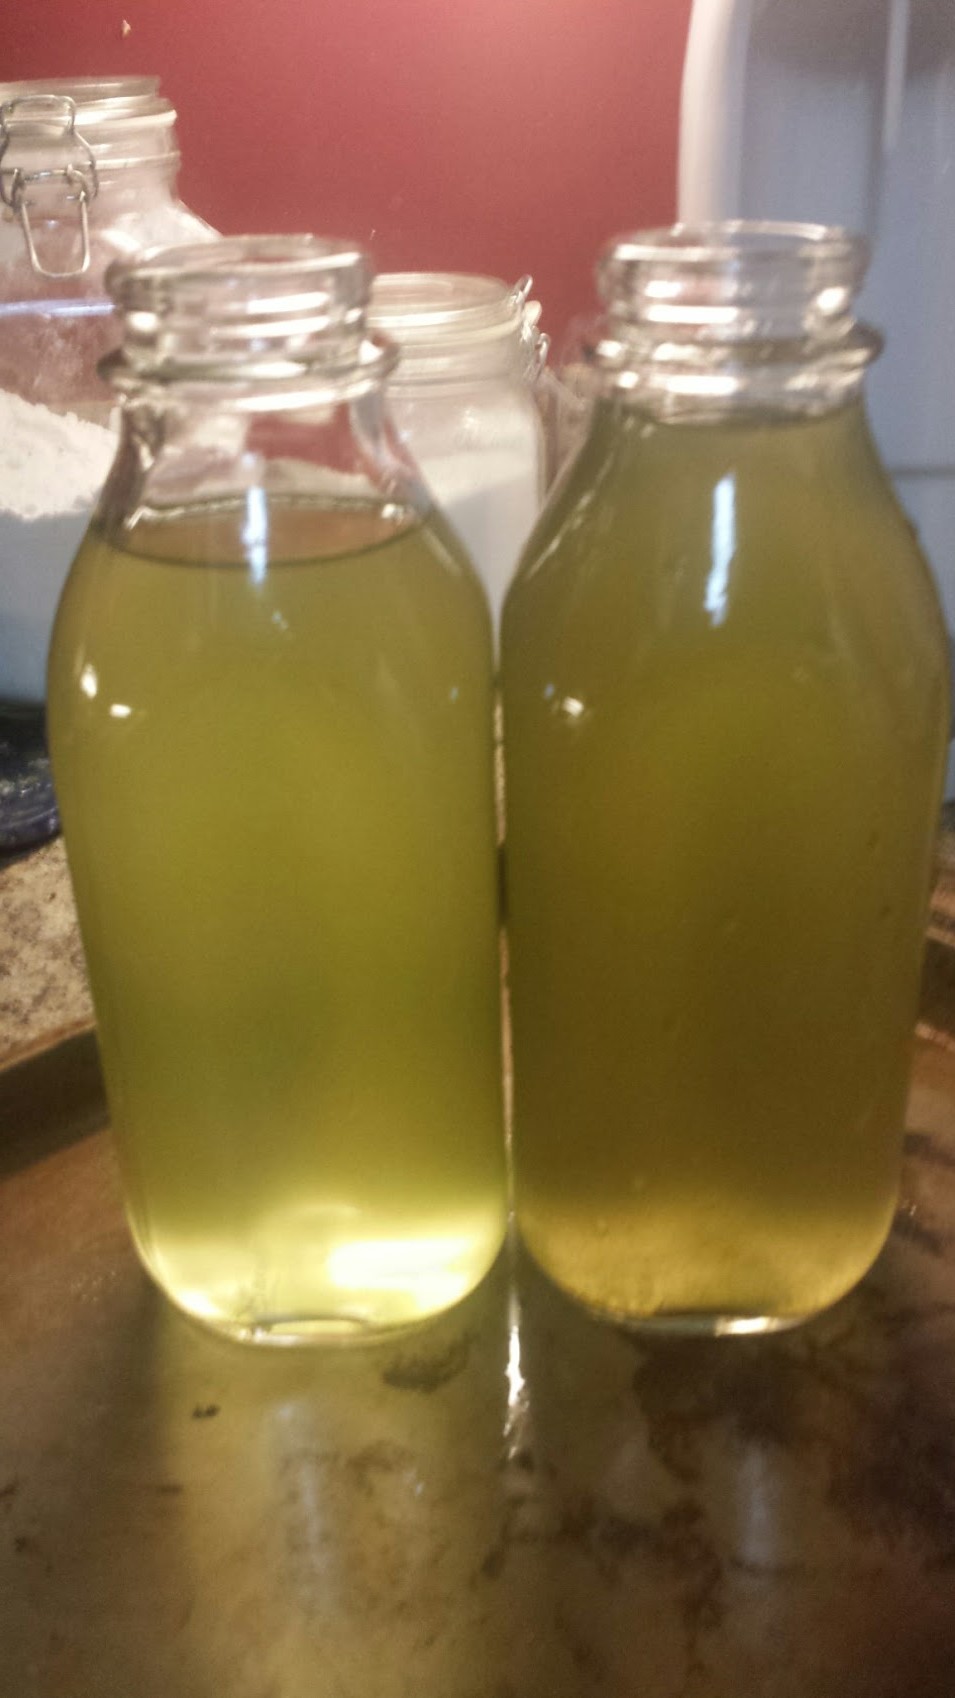
The dirty water on the right is pre-filter, and on the left is the first pass coming out.
UPDATE!…
I pulled out the very cheap filter media leaving only the rocks for a few days, and quality still improved dramatically. Â After 5 days with just lava rocks, the water looked like this:

After 5 days of the new filter, with just lava rocks!
This is much more clear. Â The next day, the new filter media came, and I threaded the hose through it just like before. Â After another week, the water is much clearer, and really I have 100% visibility now… I can see every little twig that has fallen to the bottom of the pond. Â :-\
A few more notes about the final build:
- I put more lava rocks on TOP of the layer of filter material. Â This keeps the fine filter from filling up and restricting flow to the output PVC, causing the whole thing to pressurize and more water to flow out of nooks and crannies such as the poorly cut hole where the hose enters the lid.
- I also put a few large granite rocks on top of the lid. Â This is mostly visual, but it helps hold the lid down, which was bulging because the whole system is somewhat pressurized. Â A larger output hole may have fixed the issue and I may either drill a second output, make the first one larger, or, most likely, just leave it alone. Â 🙂
Neither of these are really big issues, and the filter works great, but it may contribute to a longevity issue and, importantly, if you keep the filter outside the pond you have to watch out that leaks don’t eventually drain it. Â Still, for now I’m super happy!
ok, I know this is an old post but this is amazing. Looking to do something similar! How has it been working (if you are still using it)? Have you modified any further?
Dave! I have since moved out of the house where I had that pond, and I’m currently living pondless (I miss the fish, but I moved to an apartment in California, so it wasn’t in the cards).
The bucket filter worked really well for quite some time actually. The biggest issues I mentioned in the two bullets at the end of the post. If I were to do it again I may experiment with a few filter mediums. The lava rocks were actually quite good by themselves, and when I put anything else on top it tended to eventually puff up and clog my output. Also, the water just tended to go around the finer filters once it got dirty, so they didn’t help a ton. I may stick with a coarser mesh (https://amzn.to/2KasvXZ which is cheap, or possibly https://amzn.to/2HUOlhH or https://amzn.to/2Ka3TyA which are more expensive but are wide enough to fit a larger bucket and should have good flow characteristics) and put a couple of inches of it halfway down then make sure enough lava rocks are on top if it to keep it in place.
But fundamentally I was really happy with the design. The plastic container in the bottom held up through a few cleanings and if I ever get another pond I’ll surely do something like this again.
Thanks for asking!
I would like to know why you have the hose going through the top of the lid and no the bottom side of the bucket? I would think you could still use a piece of hose for this and make it long enough for you to clean that little section below the lava rock. I plan on making this but was thinking to put the intake hose on the bottom.
Thanks much for this tutorial.
I use a 30 gallon garbage with different filter material and get better results. I pump the water with a3000 gal per hour pump and works great
Simple mais efficace ,j’ai le même genre sans pierre de lave